Starting Tomatoes from Seed:
3 Keys to Success
Starting tomatoes from seed is the best way to explore new tomato varieties. Nurseries sell what has sold well in the past, so they're always way behind the curve on tomato varieties available from seed sellers.
You can also start seeds for peppers, eggplants, and chiles using the same setup and methods.
|
|
© Steve Masley...Click IMAGE to Enlarge |
My second garden in California was in the hills above Silicon Valley. We had more summer fog than the valley, but the nurseries were all in the valley and catered to customers that had more sun and heat.
Most of these tomato varieties performed poorly or failed in my cool-summer climate.
The only place I could find tomatoes that would work in my microclimate was in seed catalogs, so I had to learn how to start my own tomatoes from seed.
This was pre-internet, so I read some articles, set up lights, and picked up supplies, then stumbled through a couple seasons of partial success before I finally figured out how to do it right.
Temperature and Humidity
|
Light
|
Watering
Step by Step Instructions
|
Hardening Seedlings Off
3 Keys to Successfully Starting Tomatoes from Seed
The three keys to successfully starting tomatoes from seed are:
- Maintain warm, even temperature and humidity.
- Use bright lights as soon as seedlings emerge.
- Water from below, instead of above.
Keep Seedlings Warm And Humid
Maintain warm, even temperatures and high humidity in your starter pots or flats. Cherry tomato seeds can germinate at lower temperatures, but the larger salad and beefsteak tomatoes need temperatures of 75-90° (24-32° C) for strong, even germination.
The easiest way to do this is with a Hydrofarm Germination Station, which is a seedling heat mat, a standard flat, and a plastic dome that fits over the flat, for holding in humidity and keeping the temperature higher.
Temperature and Humidity
|
Light
|
Watering
Step by Step Instructions
|
Hardening Seedlings Off
Seedlings Need Bright Light
As Soon As They Emerge!
Probably the biggest mistake people make starting tomatoes from seed is trying to start them without enough light. Tomato seedlings are programmed to germinate when temperatures are warm, light is strong, and the days are lengthening.
You may be able to get them to germinate on a windowsill in February or March, but daylight is too thin, and the daylight hours too short, for them to thrive. They'll stretch to reach the light.
"Leggy" seedlings have thin, delicate stems and are much more likely to succumb to damping-off or other fungal diseases.
The first time I tried starting tomatoes from seed, I bought two 4' (1.3m) fluorescent shop lights, and suspended them over the growing area with chains. I installed one warm white bulb (for red light frequencies) and one cool-white bulb (for blue light frequencies) in each fixture.
This setup worked fine for years. In fact, I still use it, although I've replaced the warm-white and cool-white tubes with full-spectrum Grow Lux Plant Lights.
I have them on a timer set to give 12 hours of light a day. If I start my seedlings late or I want them to grow faster, I increase the time the lights are on to 16 hours a day.
Temperature and Humidity
|
Light
|
Watering
Step by Step Instructions
|
Hardening Seedlings Off
Once Seedlings Sprout, Water
From Below, Not Above
If you follow the step by step instructions for starting tomatoes from seed below and use a heat mat and dome, you shouldn't have to water until after seedlings emerge. The starter pot surfaces should stay moist enough, under cover, to allow good germination. However, if the soil surface does dry out, give the pots another gentle overhead watering.
Once seedlings sprout, stop watering from above, and water from below instead. Pour water into the flat, and let the roots draw it up into the pots. Keep the dome over the flat to maintain humidity until most of the seedlings have sprouted–usually 4-10 days–then remove it, and leave it off.
High humidity is your friend during germination, but it's the enemy of your seedlings once they've sprouted. High humidity encourages damping off, a suite of fungal diseases that can wipe out 90% of your seedlings in a few hours. Every seed starter learns this, usually the hard way.
High humidity, warm temperatures, poor air circulation, and crowded seed pots create ideal conditions for the spread of damping off diseases. Pythium, Phytophthora, Rhizoctonia, and Fusarium can all cause damping-off, attacking the delicate stems of seedlings and causing them to collapse and rot.
Damping off diseases attack injured seedlings first, then spread to others in the pot. Overhead watering often injures delicate seedling stems, especially if they're tall and leggy. Overcrowded seedlings or seedlings that aren't getting enough light are particularly susceptible.
Watering from below and removing the dome after most of the seeds have sprouted reduces the risk of damping-off diseases hitting your nursery.
Temperature and Humidity
|
Light
|
Watering
Step by Step Instructions
|
Hardening Seedlings Off
Step-by-Step Instructions for
Starting Tomatoes from Seed
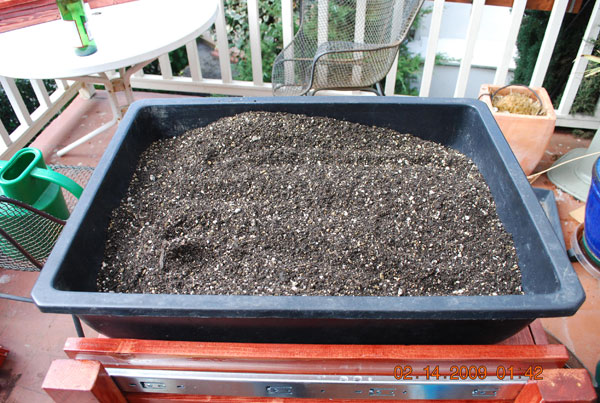
Start with a loose, high-quality potting soil that drains quickly but still holds moisture. Garden soil is too dense for starting tomatoes from seed, and may harbor fungal diseases that can wipe out seedlings. Even most commercial potting soils are heavier than is ideal for seed starting.
I usually buy a good organic potting soil for seed starting, then mix my own potting soil for transplanting seedlings to larger pots down the road. I add vermiculite or perlite to the potting soil to open it up a bit, and improve it's porosity.
Seed Starting Instructions | |
|
1.) Use a good, high-quality organic potting mix when starting tomatoes from seed. |
|
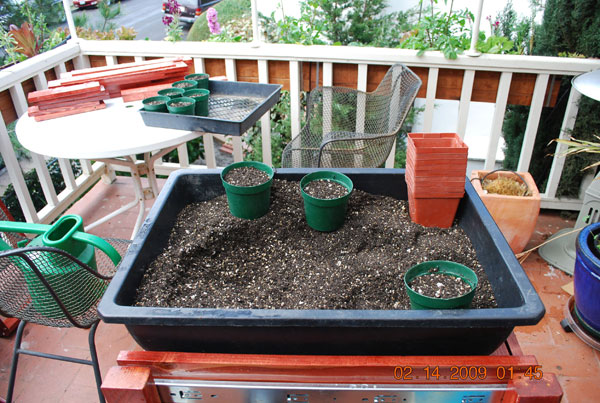
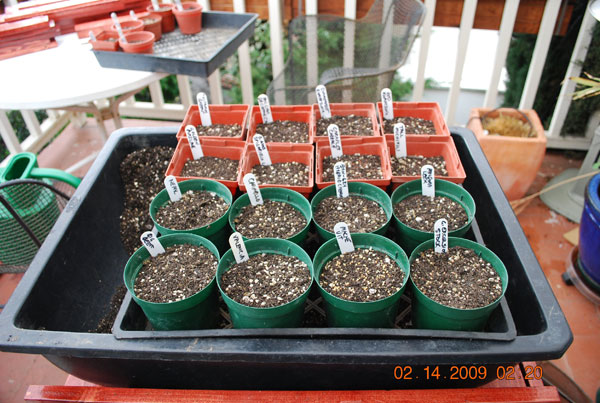
2.) Fill Pots. You can use any kind of pot for starting seeds, but I like 4" (10cm) plastic azalea pots |
|
Write out plant tags to identify each variety you're starting, and place them in the pots. I like to use the shorter 4" (10cm) tags |
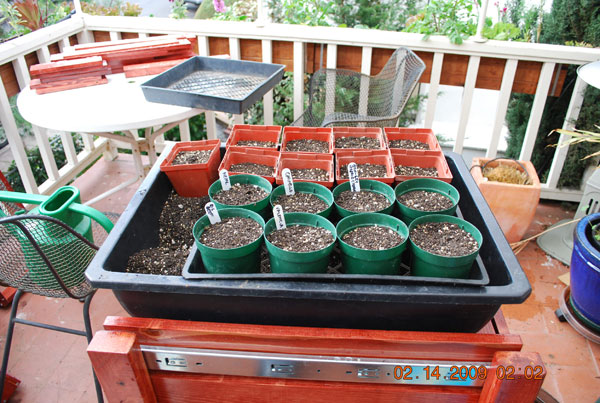 |
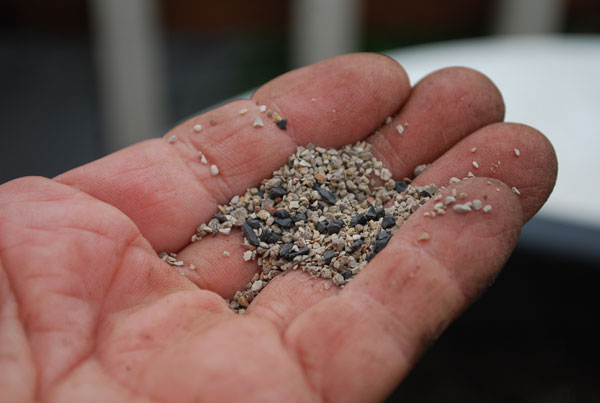
4.) Scatter seeds over the surface of each pot (make sure the variety corresponds to the tag you put in the pot). For tomato seeds, use no more than 10-15 seeds per pot, and try to spread them evenly around the pot. If you use a germination station, most of the seeds you plant will germinate. Overcrowded seedlings are much more likely to damp off than less crowded starter pots. If you want to start more of any variety than this, use two pots. |
|
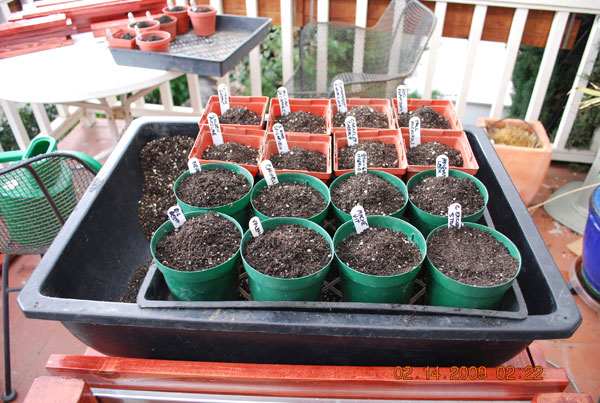
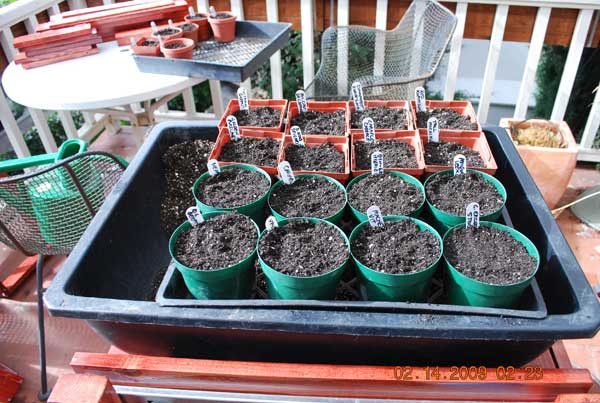
| 5.) Cover seeds with fine vermiculite or sifted potting soil. A small, compact soil sifter |
|
6.) Spread the sifted potting soil carefully over the seeds. Cover tomato seeds to a depth of 1/4" (6mm) for smaller cherry tomato seeds, and 3/8" (10mm) for larger salad, beefsteak, or paste tomato seeds. Water starter pots with a fine-mesh watering can or soft spray wand. Give them a thorough soaking, place in a flat on a heat mat, and cover with a dome. While tomato seeds don't need much light to germinate, they need strong light as soon as the first seedlings start to sprout. When starting tomatoes from seed, I usually place the whole germination station under lights as soon as I start the seeds. |
|
Tomato seeds germinate in 4-10 days on a heat mat with a dome. If you soaked the soil before placing them under cover, you shouldn't have to water again until after they germinate.
While strong light isn't necessary for seeds to germinate, it is necessary as soon as they sprout.
After the first seedlings emerge, remove the dome lid once a day to vent excess moisture, then put it back on. After 10 days, most of the seedlings will have germinated. At this point, remove the lid and leave it off.
Transplanting Tomato Seedlings to Larger Pots
|
|
|
© Steve Masley...Click IMAGE to Enlarge |
While I have photos of starting tomatoes from seed, I don't have good photos of transplanting them to larger pots–it's hard taking pictures while transplanting seedlings, dirty hands and cameras don't mix.
I'll update this page with photos–or better yet, a video!–when I transplant my tomato seedlings this winter. For now, text instructions will have to do:
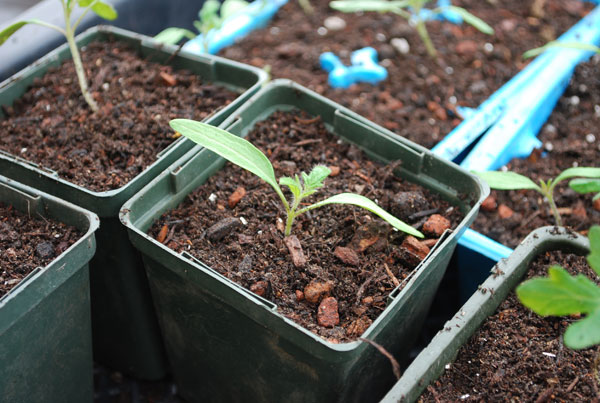
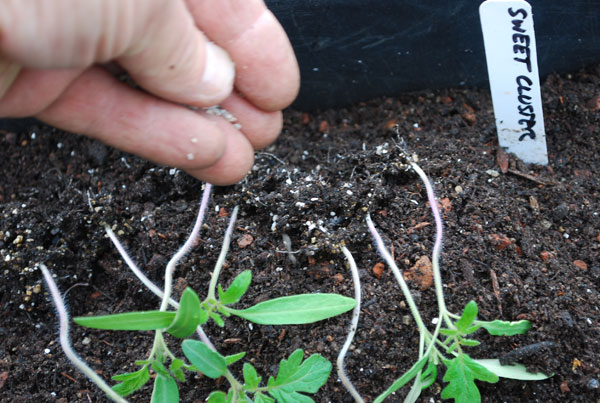
Transplant tomato seedlings to individual 4" (10cm) pots after they've developed 1 or 2 sets of true leaves. Seedlings at this stage should be about 2" (5cm) tall.
The starter pots should be moist, not wet. Squeeze the sides of the pot to loosen the soil, then carefully slide the seedlings out of the pot and drop root ball sideways on your work surface a couple times to loosen the roots.
Grasp the root ball in each hand, and gently pull your hands apart, wiggling as you pull, to separate it into two balls. Then divide the 2 clumps into 4.
Separate the seedlings in each clump into individual seedlings by pull them apart by their seed leaves (the first leaves to emerge after they germinate.) Seed leaves are like baby teeth, they always fall off, so it's no loss. Do NOT handle seedlings by their stems. Seedling stems are delicate and injure easily, inviting fungal diseases to infect the plants.
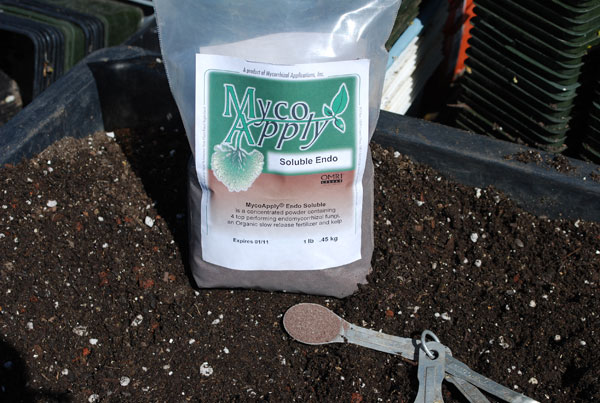
This is also a good time to inoculate the roots with myccorhizae, if you used a potting soil that doesn't contain myccorhizae. Myccorhizae are beneficial soil fungi that help tomatoes and other fruiting plants assimilate nutrients—especially phosphorous—from the soil.
Inoculating tomato seedlings can improve yields 10-20% over un-inoculated plants. A fine dusting over the moist roots is all that’s needed.
|
|
|
Temperature and Humidity
|
Light
|
Watering
Step by Step Instructions
|
Hardening Seedlings Off
Hardening Seedlings Off
Before Planting
Tomato seedlings need to be "hardened off" before planting them outside in the garden. "Hardening off" is a process of gradually acclimating seedlings grown under lights indoors to the harsher conditions outside. Seedlings grown indoors are accustomed to warmer night-time temperatures and the weaker light of fluorescent bulbs.
If you transplant them directly from your basement nursery, greenhouse, or cold frame into the ground, the leaves will be damaged by cold temperatures at night, or hot sun and wind during the day, and the plants will suffer.
By moving them from a more sheltered environment to a less sheltered environment, you can make the transition to the field less abrupt and save stress on the plants.
I usually move my seedlings from my basement nursery to my front deck or cold frame after transplanting them to 4" (10 cm) pots. Both are unheated, but under cover. They get bright sun during the day, but they're protected at night from freezing cold temperatures.
I keep them there until they're ready to plant into the ground, or transfer to larger, 1-gallon pots.
Top of Page
|
Temperature and Humidity
|
Light
Watering
|
Step by Step Instructions
|
Hardening Seedlings Off
Tomato Varieties
|
Growing Tomatoes


Copyright © 2009-2025, by Steve Masley, Grow-it-Organically.com
All rights reserved
![]()
HOME | About Us | Contact Us | Privacy
New! Comments
Have a question or comment about what you just read? Leave me a comment in the box below.