Fertilizing Container Vegetables
the Organic Way
Fertilizing container vegetables organically is easy, you just have to build organic soil amendments into the container garden soil before you plant.
|
|
Amendments © Steve Masley Click IMAGE to Enlarge |
Large, heavy-feeding plants like indeterminate tomatoes and squash will also need supplemental organic fertilizer, but for all other container gardening vegetables you can build the fertilizer into the soil from the start.
Organic fertilizers work by “feeding the soil to feed the plants”. Bacteria and fungi multiply to break the materials down. They form a water-holding web between the soil particles, and release nutrients for your plants slowly, steadily, over the whole growing season.
|
Container Gardening Pages |
|---|
|
|
|
|
|
|
|
|
|
|
Most organic soil amendments have both fast-releasing or “labile” nutrients and slow-releasing “recalcitrant” nutrients.
Most release nutrients more quickly in summer, when the soil food web is at peak activity, but some animal-based or manure-based amendments release nutrients in cooler soil temperatures.
Organic Soil Amendments for Fertilizing
Container Vegetables
|
|
Amendments © Steve Masley Click IMAGE to Enlarge |
Vegetables in pots need the same nutrients that field vegetables need, they just have to get those nutrients within the limited root zone of the pot.
All vegetables need Nitrogen, Phosphorous, and (K)Potassium, for growth, flowering, and fruiting.
For why plants need these elements and a wider discussion of organic soil amendments, see the Organic Fertilizers page.
For now, I’ll just tell you what I used to grow this jalapeno:
- 1/2 gallon Fresh Worm Castings, with live worms, for some nitrogen, phosphorous, and potassium, but mainly to speed nutrient cycling—the breakdown of organic materials—in the potting mix.
- 1 cup Alfalfa Meal for early-season nitrogen, some phosphorous, and some potassium.
- 1/2 cup Feather Meal for mid- late-season nitrogen.
- 1/3 cup Greensand for potassium. Greensand also helps hold moisture in potting mixes. Manganese dioxide crystals on the grains absorb moisture, but greensand also encourages the growth of beneficial fungi in potting mixes, which increases nutrient cycling and water retention in the mix.
- 1/4 cup Oyster Shell Flour or Dried, Crushed Eggshells for calcium.
- 1 heaping Tbs Kelp Meal for potassium and trace minerals that boost plant immunity.
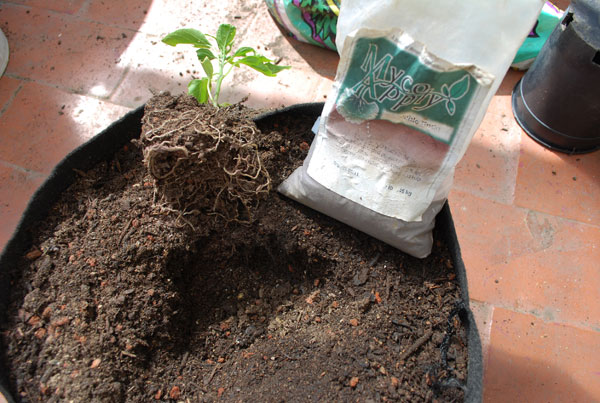
- I also inoculated the roots with myccorhizae, symbiotic fungi that help plants assimilate nutrients from the soil, much as gut bacteria help humans assimilate nutrients from their food.
Sound complicated? It’s not, it’s a fairly easy recipe, but it’s a lot of ingredients to keep on hand for fertilizing container vegetables in a few pots.
Fortunately, Dr. Earth Organic Tomato, Vegetable, and Herb Fertilizer is a great organic fertilizer that has the same basic ingredients, including mycorrhizae.
This is a balanced (5-7-3) blend of fish meal and alfalfa meal for early-season growth, feather meal for mid- to- late-season growth, soft rock phosphate and fish bone meal for phosphorous, and kelp meal for potassium and boosting plant immunity. It also contains 7 strains of probiotic soil microbes, along with ecto- and endo-myccorhizae.
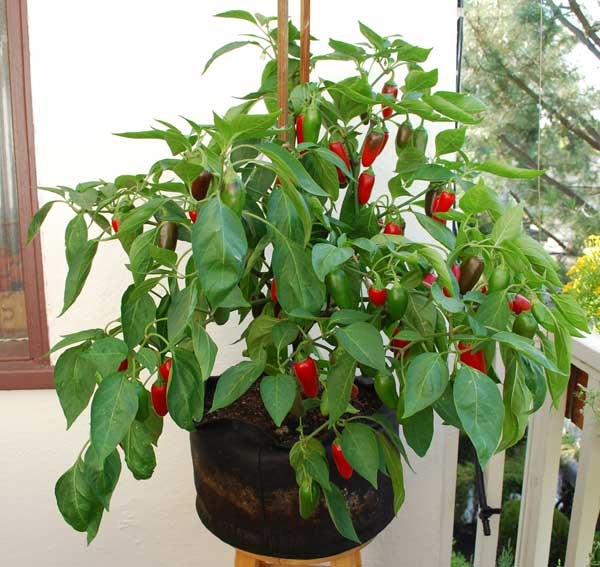
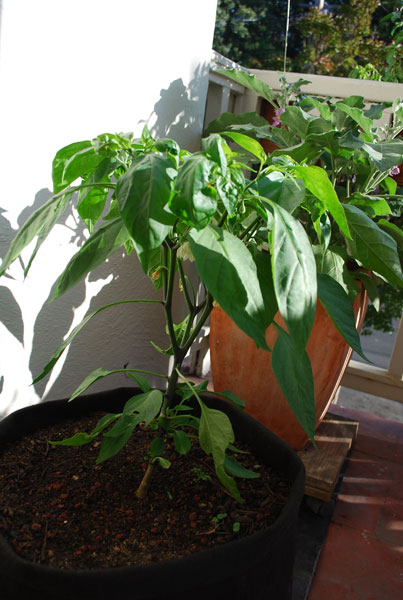
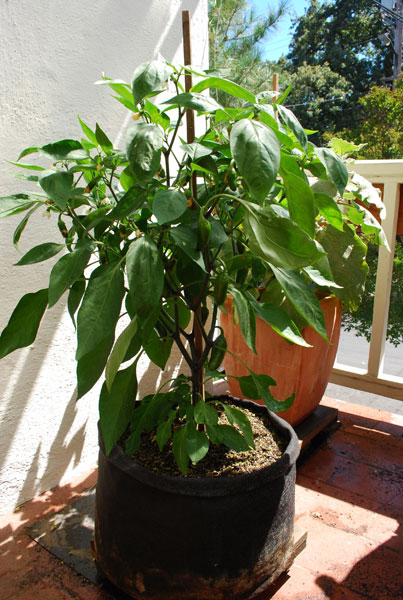
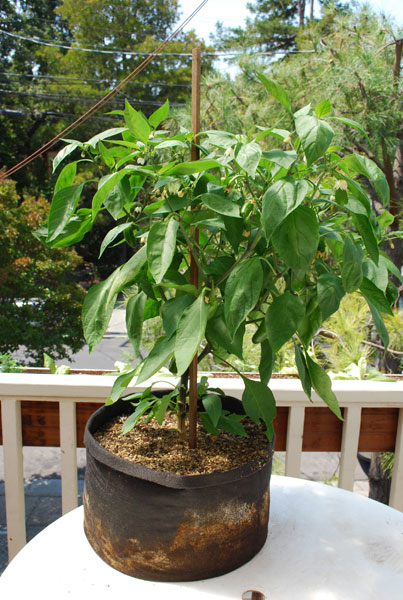
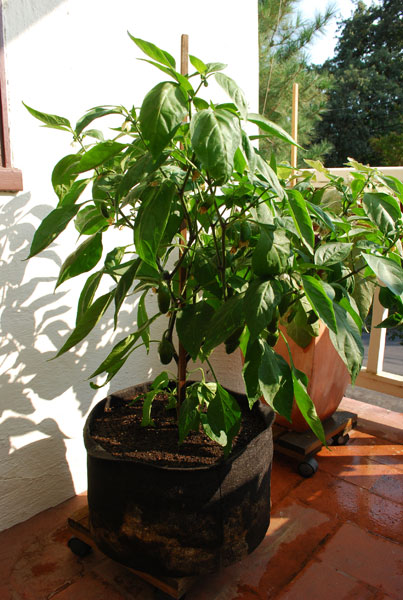
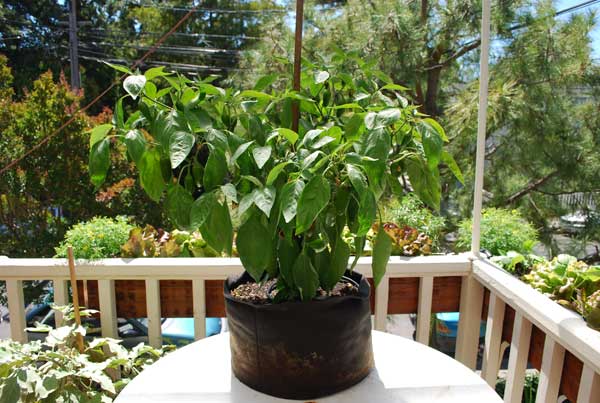
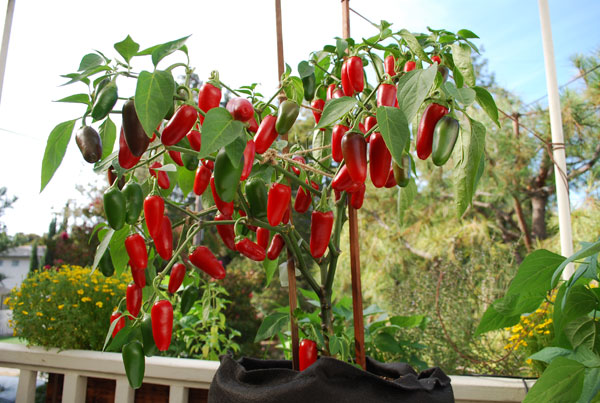
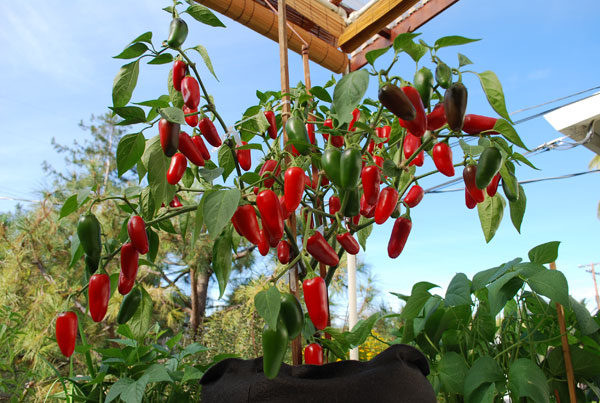
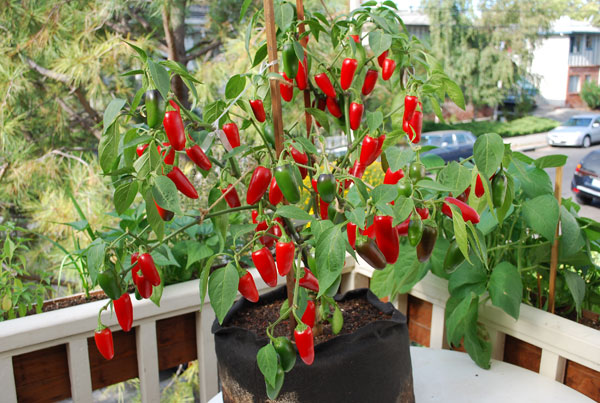
The pictures below shows this jalapeno plant at various stages of growth. There’s also a slideshow here.
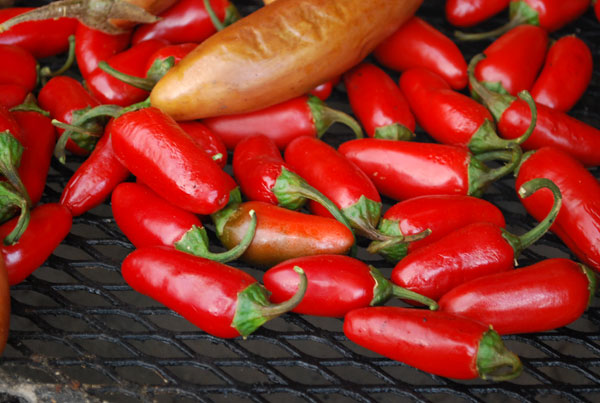
In 4 months, it grew to be 30” (75cm) high and 36” (90cm) wide, with a stem as thick as my thumb. It produced 69 jalapenos from a single plant—almost 4 lbs of peppers! I let them ripen to red so I could smoke them for chipotle chiles.
|
|
|
|
|

|
|
|
|
|
|
|
|
|
Here’s a slideshow of the process of growing this plant. For step-by-step instructions with photos, see Building Organic Soil Amendments into Potting Soil below.
If you’re fertilizing container vegetables like indeterminate (vining) tomatoes, peppers, eggplants, squash, or other heavy feeders, you may also need supplemental organic fertilizers.
In addition to the organic soil amendments built into the potting mix, this jalapeno received two doses of diluted “worm tea”—leachate from the bottom of a worm bin diluted 50-50 with water—over the summer.
Build Organic Soil Amendments
into the Potting Soil
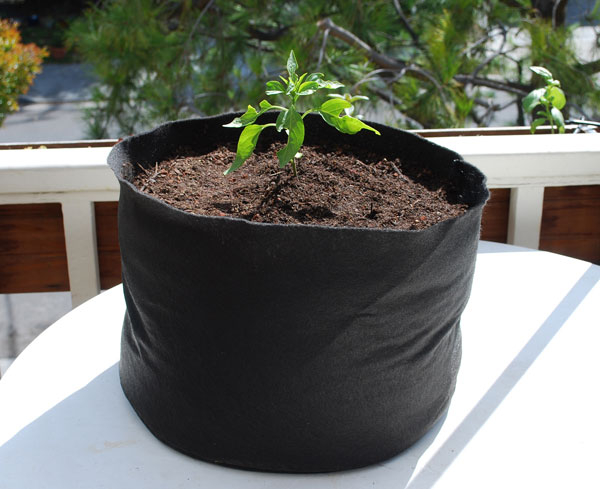
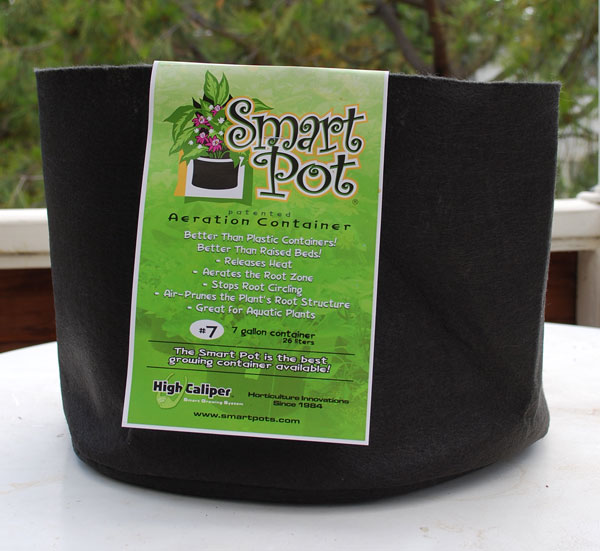
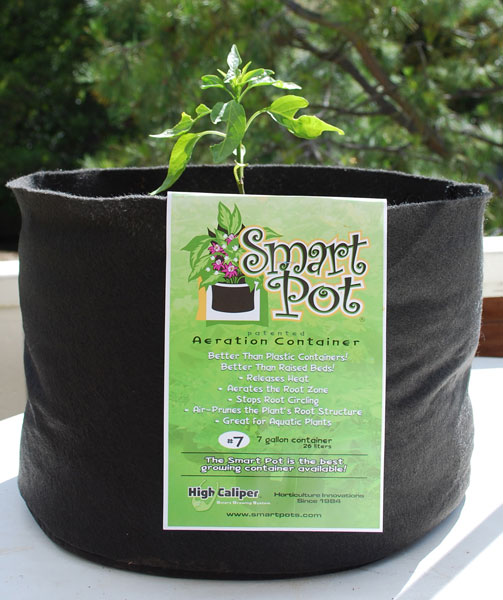
‘Early Jalapeno’ Grown in a 7-gallon Smart Pot | |
 %20tomatoes. "Pin It")
|
7-gallon or 5-gallon Smart Pots are ideal for peppers, eggplants, and bush tomatoes. A 5- or 7-gallon terra cotta or plastic pot will also work. A 7-gallon pot holds 9-10 black plastic (1-gal) pots of potting soil. |
|
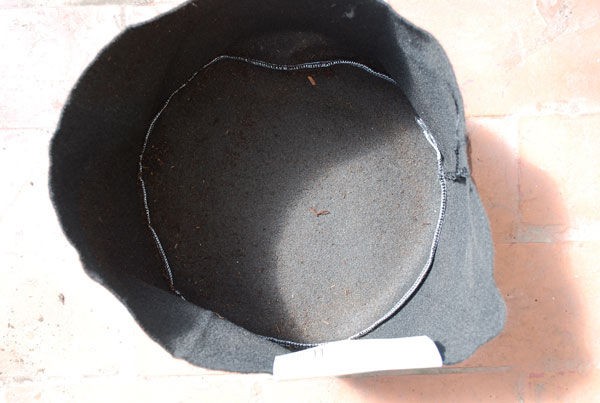
Smart Pots are geofabric pots that “breathe”, so the roots don’t coil around the pot like they often do in terra cotta or plastic pots. The roots also stay cooler. Hard containers need a layer of drain rock in the bottom to keep roots from sitting in pooled water. Smart Pots need no drain rock in the bottom.
|
|
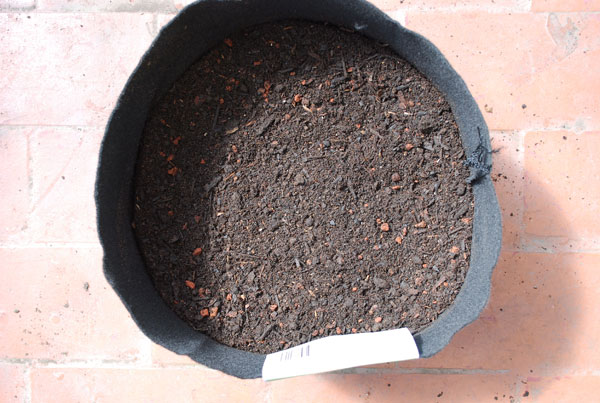
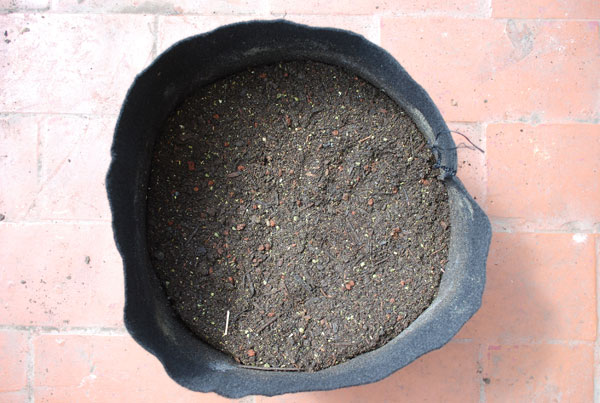
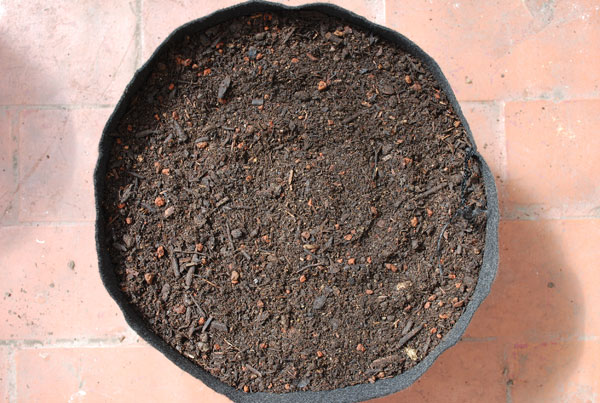
Fill the pot 2/3 full of Basic Potting Mix or commercial organic potting soil. See Container Garden Soil for information on potting soils. |
 %3A%20%20oyster%20shell%20flour%20or%20dried,%20ground%20eggshells%20for%20calcium,%20kelp%20meal%20for%20potassium%20and%20trace%20minerals,%20greensand%20for%20potassium%20and%20to%20help%20with%20water%20retention%20in%20the%20pot,%20alfalfa%20meal%20for%20early-season%20nitrogen,%20and%20feather%20meal%20for%20late-season%20nitrogen. "Pin It")
|
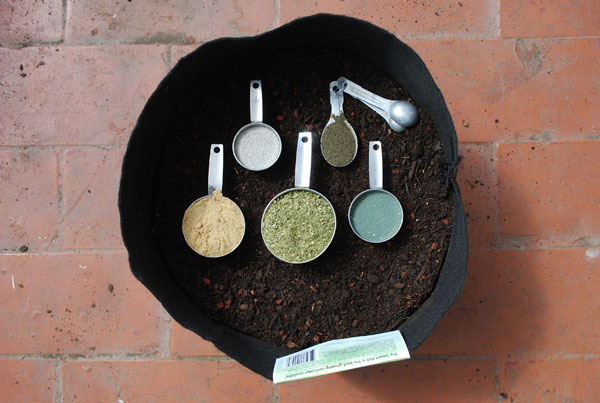
Organic Soil Amendments for Fertilizing Container Vegetables in 7G Pots (Heavy Feeders) (Clockwise from upper left)
|
|
This is the Jackson Pollack part: Dust the surface of the pot with each amendment. Try to spread them around evenly. |
|
Use a hand cultivator to claw the organic soil amendments into the mix below, or mix with your hands. Dig down to the bottom of the pot with your hands and mix thoroughly. Organic soil amendments rely on microbial action to break them down into forms your vegetables can use. They have to be mixed into the soil to be in contact with soil microbes. |
|
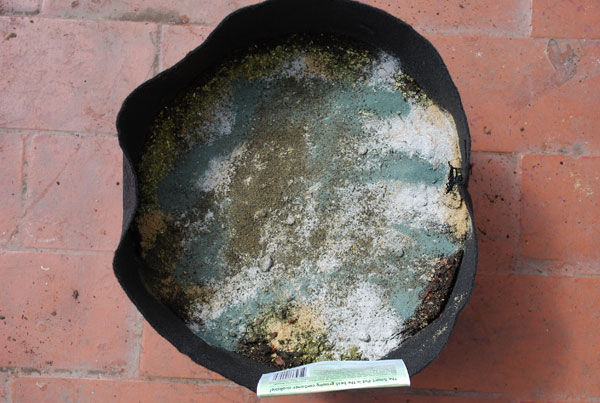
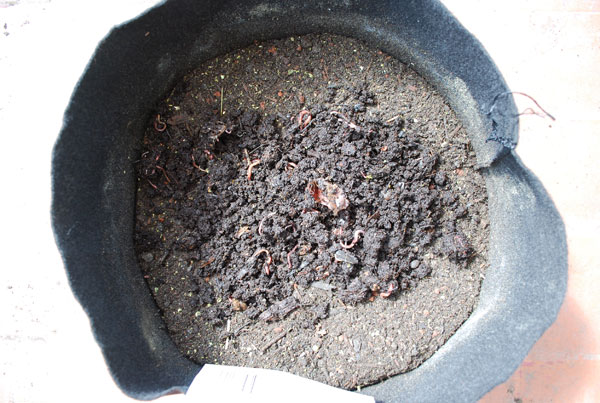
Add ½-1 black plastic gallon pot of fresh worm castings, with worms, if you have them. Dried, bagged worm castings have some of the same nutrients and even some of the same organisms, but nowhere near the biodiversity found in fresh worm castings with live worms. See setting up a worm composting system for more information. |
|
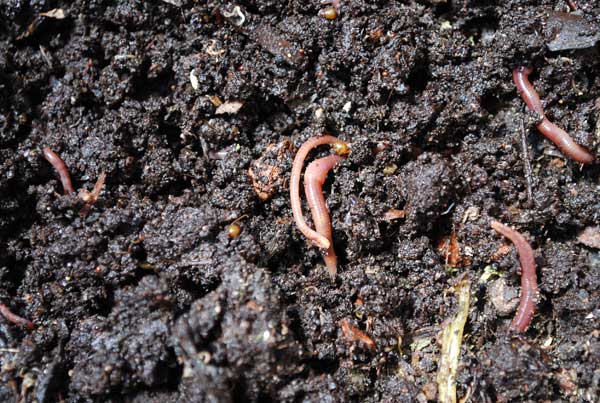
Fresh worm castings put the forest floor ecosystem to work in your container vegetable garden. They create an ecosystem within the potting mix. Worms and microarthropods convert organic matter from the compost into plant-available nutrients for fertilizing container vegetables. The small, white worms are enchytreids, cousins of red compost worms. The brown spheres are worm cocoons. Each will hatch into 1-2 worms in a few weeks. |
|
Top the pot off with additional potting mix, leaving about 1” (2.5cm) of space to the top lip of the pot. This space makes watering easier. For clay pots, rock the pot back and forth to help settle the soil. Plastic or Smart pots can be picked up and dropped a couple inches. Add more potting soil to top off the pot 1” (2.5cm) from the rim. The soil in the pot will settle another inch after the first few waterings, leaving room for a layer of mulch. |
|
Fruiting plants like peppers, tomatoes, eggplants, cucumbers, melons, and squash evolved with myccorhizae, symbiotic fungi that create a finely-branched, fibrous root system that’s in contact with more soil volume and can absorb more nutrients and use water more efficiently. It’s a good idea to add them to sterile potting mixes. I always inoculate the roots of fruiting vegetables with endomyccorhizae. |
 
|
A closeup of inoculated roots. A fine dusting of inoculant over the moist roots is all that’s needed. Myccorhizae must be in contact with roots to survive. If the spores germinate in soil near the roots but not in contact, they’ll die before symbiosis is established. |
|
This looks like an awfully large pot for such a small plant. In 4 months the plant will be bigger than the pot, and loaded with chilies. |

|
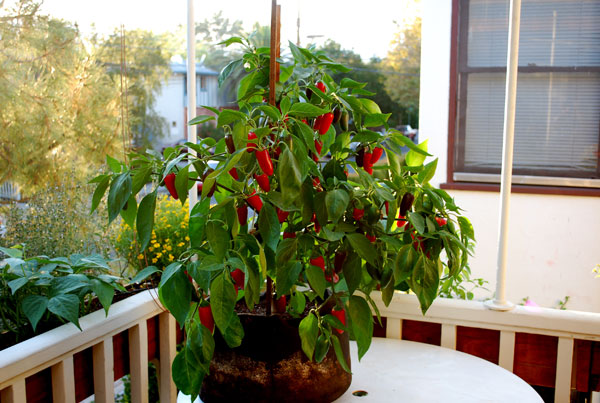
The same plant 4 months later. I let the jalapenos ripen for chipotle chiles. Remember…you can click any image to enlarge. |
|
|
Here it is with leaves removed so you can see the chiles. |
|
|
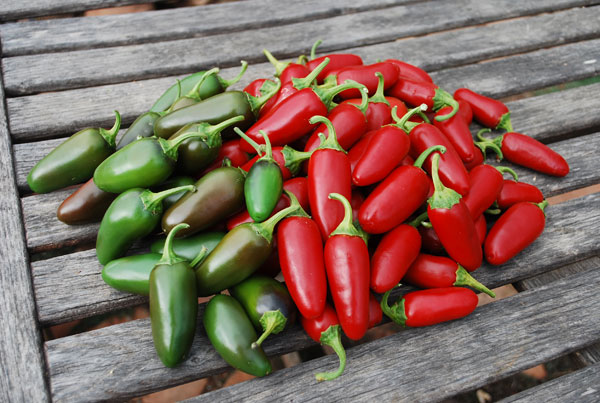
One Jalapeno Plant in a 7-gallon Smart Pot with Organic Soil Amendments Yielded 69 Jalapenos! |
|
Smoke the ripe jalapeno peppers for 3-4 hours over low coals with apple wood chips, then dry to make chipotle chiles. |

Supplemental Organic Fertilizer
for the Heaviest Feeders
When growing vegetables in containers, main-crop vegetables will usually require supplemental fertilizers.
These can be in a liquid form—like diluted fish emulsion, diluted leachate from a worm or compost bin, or extracts made from compost, composted manure, or worm castings.
My father-in-law used to dilute any coffee left in the pot, and use it for fertilizing container vegetables. His plants were always thriving, and I’ve found that this works just as well for growing vegetables in containers, especially fruiting vegetables that prefer a slightly more acidic soil. The increased acidity frees up more nutrients from the potting mix.
If you’re using fish emulsion—basically pureed fish waste products—follow the recommended application rate for vegetables—it’s usually about 1 ounce to a gallon of water.
Leachate from worm bins (the “worm tea” that drains through the castings) is excellent for fertilizing container vegetables. Dilute 50-50 with water and pour into the container garden soil.
You can also make extracts of compost, worm castings, or manure for fertilizing container vegetables by soaking 1 gallon of organic material in 2 gallons of water for 12-24 hours, then straining off the liquid. Apply the liquid to the potting mix. Note: Use within 24 hours or it will go anaerobic and stink.
The solids can be mixed into potting mixes for plants, or added to containers as a top dressing. Top Dressing involves applying small amounts of organic soil amendments to the soil surface, cultivating them lightly into the soil, mulching, and watering.
Top of Fertilizing Container Vegetables
Selecting Containers
|
Choosing Container Vegetables
|
Drainage
Fertilizing
|
Temperature
|
Salad Tables
|
SaladScapes


Copyright © 2009-2020, by Steve Masley, Grow-it-Organically.com
All rights reserved
![]()
HOME | About Us | Contact Us | Privacy
New! Comments
Have a question or comment about what you just read? Leave me a comment in the box below.