How to Build a Compost Pile
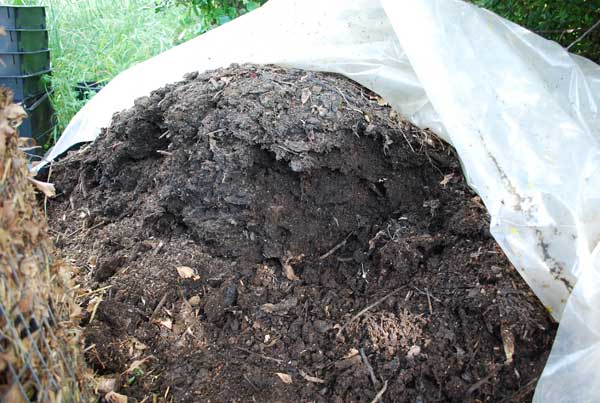
When you build a compost pile, you’re putting billions of microbes to work converting garbage into black gold for your garden. I’ve been composting for over 25 years, and this transformation still delights and amazes me.
 |
|
© Steve Masley…Click IMAGE to Enlarge |
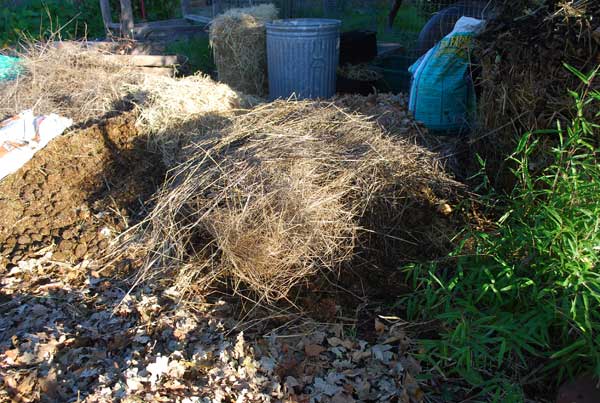
Compost happens naturally, wherever plant debris accumulates and is exposed to insects, soil organisms, and rainfall. It’s nature’s way to recycle the old to make the new.
When you build a compost pile, you’re in charge of this natural process. You determine the mix and size of materials that go into the pile, you control the moisture level. If it’s handled poorly, valuable nutrients are lost to the atmosphere, or leach into the soil under the pile.
 |
|
© Steve Masley…Click IMAGE to Enlarge |
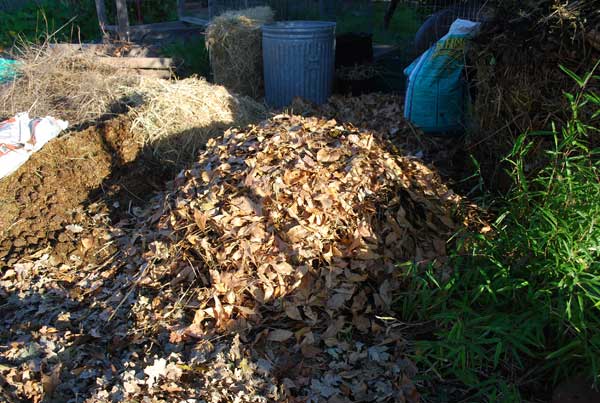
If it’s handled really poorly, foul odors abound, flies and rodents breed, and some nasty toxins can be produced.
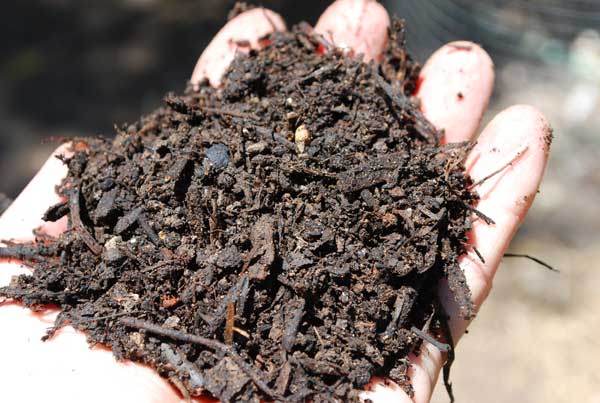
Handled well, composting can reduce a huge pile of leaves, unusable vegetable stalks, and kitchen waste to a small pile of gardeners’ black gold, the currency of organic gardening.
In a well-managed compost pile, half the volume of the pile will off-gas—disappear into the atmosphere—as carbon dioxide and water vapor, but the minerals and most of the nitrogen will be conserved and concentrated in the rich, dark, earthy-smelling material that’s left.
Types of Composting
|
Compost Ingredients
Starting a Compost Pile
|
How to Build a Compost Pile
Types of Composting: Static Pile Composting
When you build a compost pile, the process can be cool or hot, depending on the size of the pile, as well as the size and mix of compost ingredients that go into the pile.
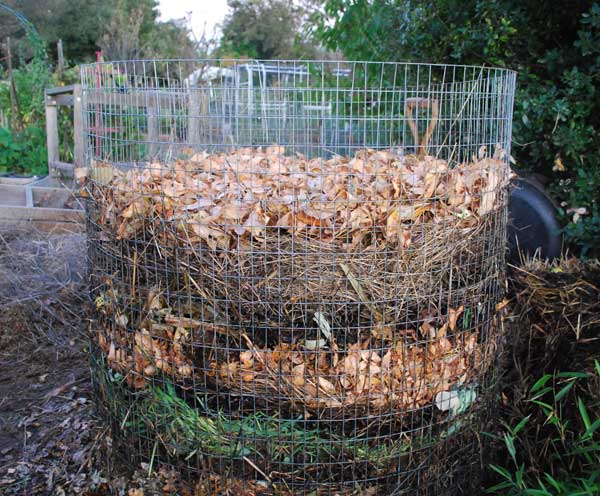
Cool, or Static Pile Composting, is the easiest way to make your own compost, and the best composting method for beginners.
|
|
Generate Them © Steve Masley…Click IMAGE to Enlarge |
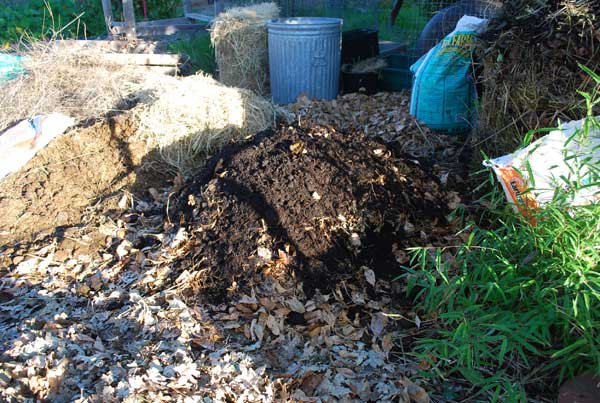
Materials are layered onto the pile—chopped, or unchopped—as your kitchen and garden generates them.
Chopping whole plants into smaller pieces increases surface area, speeds decomposition, makes turning the pile easier, and results in a finer-textured finished compost—but it isn’t necessary in a static compost pile.
The pile is kept covered, to keep it from drying out, or getting saturated in a heavy rain. When the pile is big enough, it’s turned to one side and allowed to cure.
|
Composting Pages |
|---|
|
|
|
|
|
|
|
|
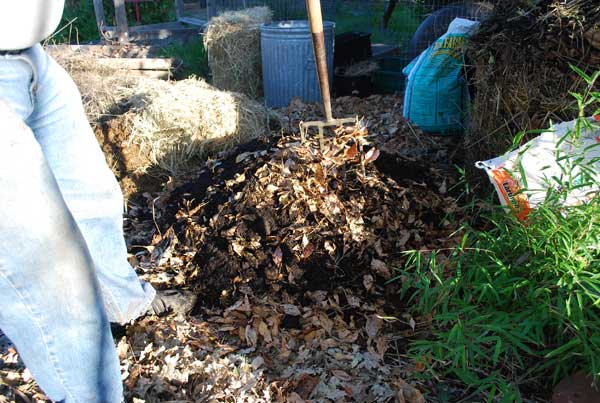
A second pile is started, and new materials are added only to the second pile. By the time the second pile has reached full size, the first pile has broken down enough to start using in the garden.
Although static pile composting is simpler than other composting methods, and takes less effort and attention, it develops less compost heat, and therefore has some drawbacks:
- Weed seeds remain viable. Compost heat in the middle of a static compost pile may be sufficient to kill weed seeds, but seeds in the periphery of the pile remain viable.
- Plant diseases are not destroyed by compost heat. For the same reason, diseases in the middle of the pile may cook out, but those in the outer layers remain.
- Static compost piles may attract rodents, opossums, and raccoons. Kitchen scraps take several days to break down in a static compost pile, and as they break down, they give off fermentation odors that attract rodents and other animals. Once rodents know there’s a regular food source available, they’ll treat your compost pile as a feeding station and come back every night. Some compost bins and compost tumblers are designed to discourage rodents.
Hot Composting is a lot more work, but eliminates these problems.
Because static compost piles develop less compost heat, it’s best to avoid adding weed seeds or diseased plants when you build a compost pile. (For a list of materials to avoid in compost piles, click Here.
Top of Page
|
Types of Composting
|
Compost Ingredients
Getting Started
|
Building a Pile
Starting a Compost Pile
For information on siting your compost pile and other Composting Basics click Here.
Before you build a compost pile, you may want a little background information. Compost Ingredients discusses the various types of compost materials, and how to blend them to achieve the right carbon-to-nitrogen balance in your compost pile.
If you don’t have much space or you have neighbors close by, you may want to contain the pile in a compost bin or wire cylinder.
Don’t want to deal with turning a compost pile? Compost tumblers are rotating drums that make turning the pile easy.
The simplest, cheapest way to make your own compost is to build a compost pile. Whether you build a compost pile or use a compost bin or tumbler, the composting process is essentially the same.
After choosing a site to build a compost pile, the next step is collecting materials.
Top of Page
|
Types of Composting
|
Compost Ingredients
Getting Started
|
Building a Pile
Compost Ingredients: “Green” vs “Brown” Materials
Compost materials are often referred to as “Green” or “Brown” materials, as a way of simplifying the process for beginners.
Composting Tip #1:
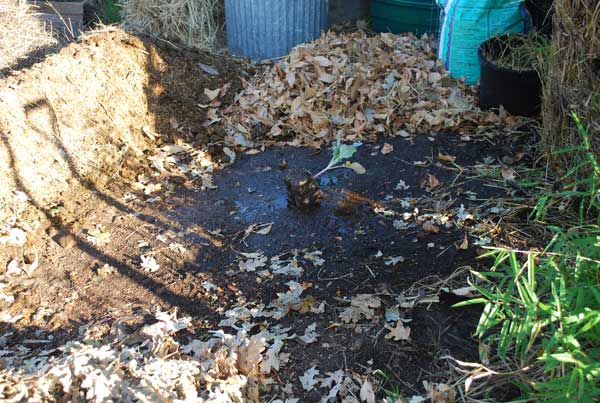
Stockpile brown materials in the late summer and fall, when they're most readily available. Collect leaves in the fall and cover them with a tarp, or bag them to keep rain out. If you’re starting a compost pile in a rural or suburban area where straw bales are readily available, pick one up in the fall, keep it covered, and use it for adding brown materials to your compost piles through the fall, winter, and spring.
In general, “green” materials are young and succulent, and have a higher nitrogen content than “brown” materials. Brown materials come from older plants with stiff stalks, and have a higher carbon content.
“Green” (high-nitrogen) compost materials also include kitchen scraps and animal manures.
Compost Ingredients goes into the nitty-gritty details of C:N (carbon-to-nitrogen) ratios of materials that go into the pile, but the basic process of making a compost pile involves layering “green” and “brown” materials, and keeping the pile moist—but not too moist—as you build it.
The most common mistake people make when they build a compost pile is using too many green (high-nitrogen) materials.
Composting Tip #2:
Corrugated cardboard is an excellent brown material to add when building a compost pile or setting up a worm composting system. Tear it into chunks about the size of your palm for either use. Tearing dry cardboard is hard, but if you roll the cardboard up and soak it in a bucket of water for 5-10 minutes first, it’s much easier to tear into pieces.
This is understandable, since your kitchen and garden supply a steady stream of green materials, and brown materials are most abundant in late summer and fall.
If you use too many green materials, the pile is more likely to go anaerobic, creating odor and pest problems, and causing nutrient losses. .
When I set out to build a compost pile for the first time, I didn’t know anything about composting—I just started piling vegetable scraps and coffee grounds under a tree in the back yard.
Two weeks later, it was a foul-smelling, gooey mass of writhing maggots and flies.
Lesson #1: If you’re going to err when you build a compost pile, err on the side of too many brown materials. If you use too many brown materials, the worst that can happen is the pile won’t heat up as much, and it will take longer to break down and produce usable compost.
In urban areas, shredded paper and cardboard are a readily-available, year-round option for brown materials.
Top of Page
|
Types of Composting
|
Compost Ingredients
Getting Started
|
Building a Pile
How to Build a Compost Pile
| |
|
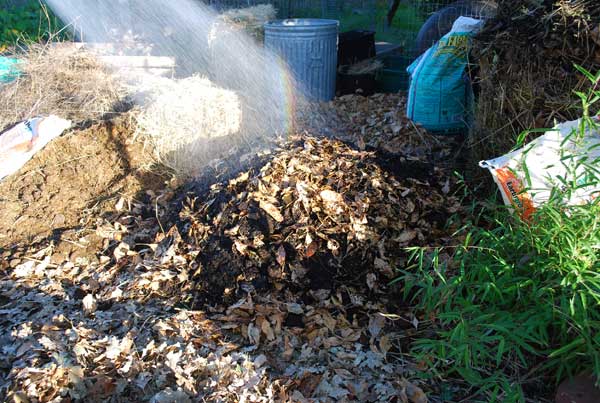
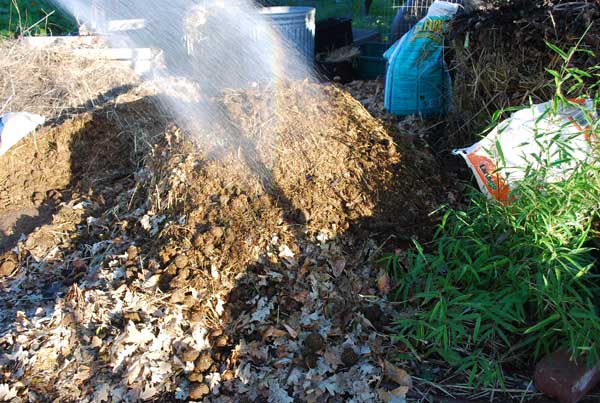
When starting a compost pile, wet the area down a day or two before making a compost pile, then again just before you build a compost pile. This will wake up dormant bacteria and soil fungi, and make the soil hospitable for red compost worms and other forest floor organisms that make their way from the soil into the pile, and are important players in making compost. |
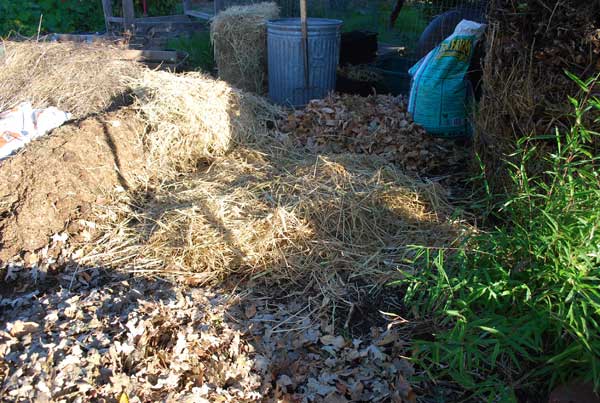 |
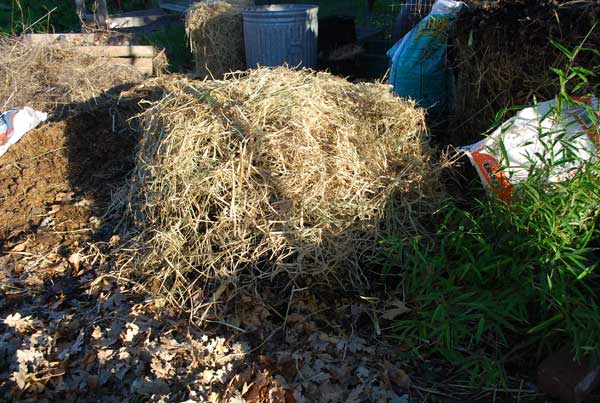
Start with a 4-6” (10-15cm) coarse brown layer, like straw. Dry, stalky materials are great at the bottom of a compost pile. They resist compaction, and provide air spaces at the bottom of the pile. Scatter a couple handfuls of loose garden soil over the top (this inoculates the pile with soil microbes). If you want, you can use a compost activator as well, but the microbes in your native soil are already adapted to your location and have a better chance of survival. Wet it down with a spray wand with a “shower” setting—the stream from the bare end of a hose doesn’t spread out enough to wet the material evenly. |
 |
Add a 2-3” (5-8cm) green layer…or in this case, brown. A layer of kitchen scraps, lawn clippings, or green, leafy material from the garden will work just as well. |
|
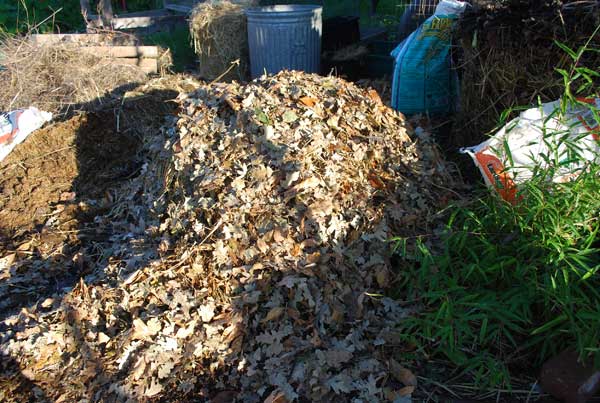
Add a thin (2”–5cm) layer of dried tree leaves —in this case, valley oak and linden. Trees pull minerals up from deep in the subsoil, and deposit them on the surface when their leaves fall. Composting tree leaves concentrates these minerals in your compost.Tree leaves, lawn clippings, and shredded paper tend to form slimy mats if layered into the pile too thickly. The trick with these materials is to use lots of thin layers. Mixing the layers with the tines of a spading fork also helps. |
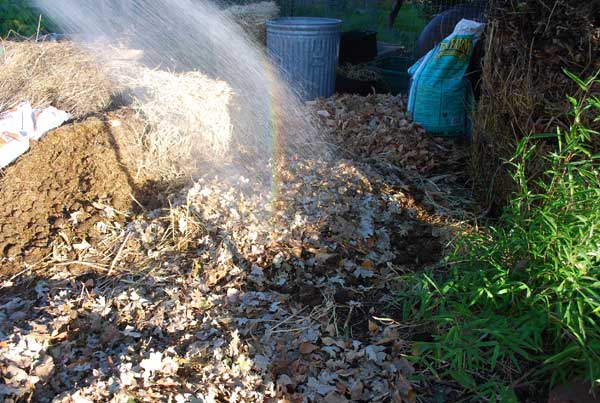 |
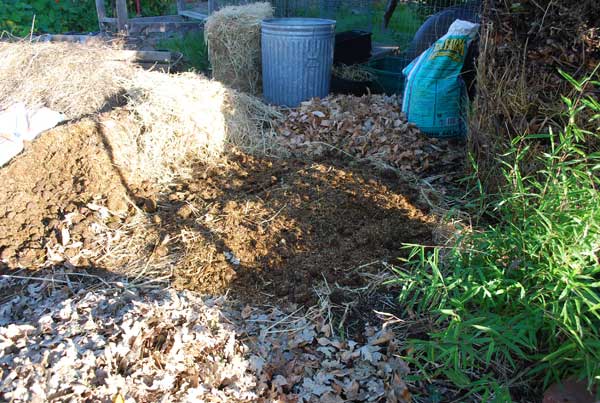
Water the layer. Ideally, a compost pile has a moisture level around 50%, about the moisture level of a wrung-out sponge. If you squeeze a handful of compost hard, only a drop or two of water should drip out. The easiest way to achieve this ideal moisture level is to water each layer as you add it. Use just a quick spray with the water wand on soft spray for a succulent green layer, but increase the amount of water for thicker brown layers. |
 |
Add a ‘microbial inoculant’. If you don’t trust your soil, or can’t get ahold of a few handfuls of good soil from a friend with a garden, a compost activator like Ringer Compost Activator Compost activators are microbial mixes with incredible diversity. Some of the organisms won’t survive in your location, but many will, and they’ll add to the microbial diversity of your compost. |
 |
Add another green, or high-nitrogen, layer. This will help wake up the microbes you added with the handfuls of soil. Here I’ve added another layer of stable waste. |
 |
Add another brown layer. Here I’ve added coarse grass stalks. |
 |
Add another thin layer of tree leaves—linden leaves, in this case. |
 |
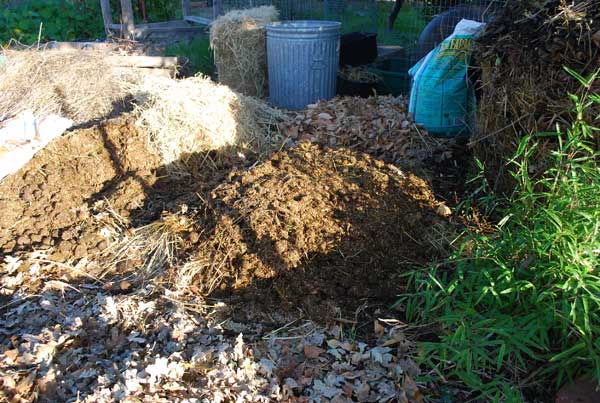
When the compost pile is built up a third of the way, add a high-nitrogen layer, to build some heat. Be cautious, and don’t add too much. A little more nitrogen at this depth in the pile results in better breakdown throughout the pile, because the mass of material that goes on top will hold in the heat from this layer, allowing the core temperature of the pile to rise. |
 |
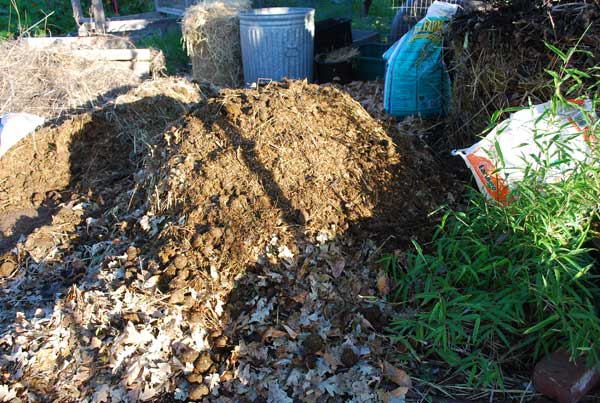
Throw on a couple handfuls of garden soil or old compost. Mix this higher-nitrogen material into the layer below by dipping the tines of a spading fork in a few inches and twisting back and forth. Water the layer with straight water if you’re using soil as an inoculant, or compost activator dissolved in water. |
 |
Make sure this layer is moist enough, but not too moist. |
 |
Add another brown layer—in this case, straw. Water the layer. |
 |
Add another layer of tree leaves. |
 |
Add another green, or manure layer. |
 |
Remember to water each layer as you add it, adjusting the amount of water to the moisture level of the materials in the layer. |
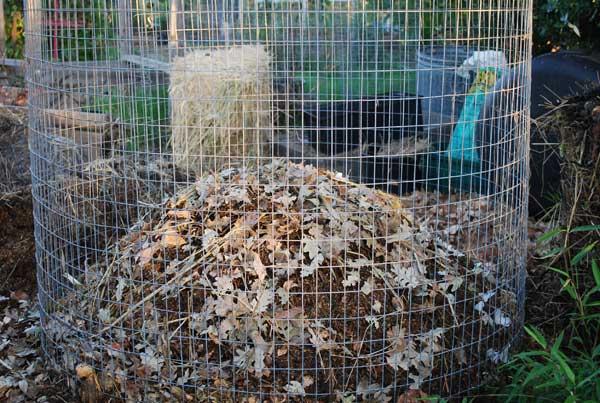 |
I like to use a cylinder of 1x2” welded wire to contain the pile. |
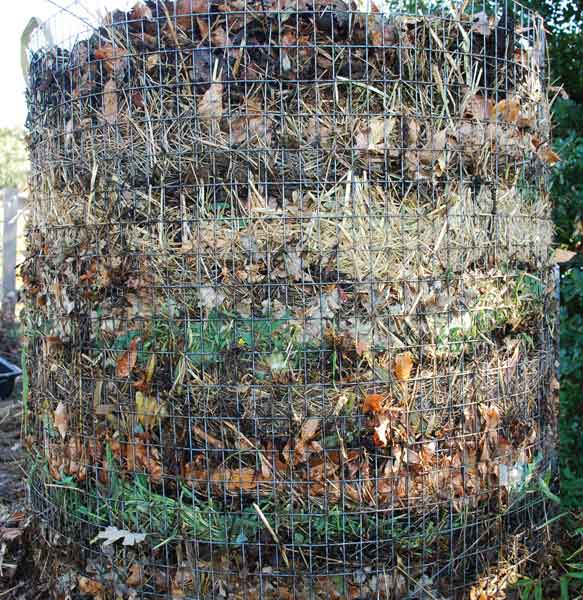 |
Continue alternating brown and green layers as you build the pile. Don’t forget to add a compost activator—like soil, active compost, or a commercial compost activator—to each green layer. Water each layer as you build the pile. |

Once you build a compost pile, wet down the top of it, and cover it with a tarp. The tarp keeps excess moisture out when it rains, and holds moisture in when it’s hot and dry. It also holds loose material on top of the pile in when it gets windy.
Types of Composting
|
Compost Ingredients
|
Getting Started
Building a Pile
Top of Build a Compost Pile
|
How to Compost
|
Composting Basics
Compost Ingredients
|
Hot Composting
Setting Up a Worm Composting System


Copyright © 2009-2020, by Steve Masley, Grow-it-Organically.com
All rights reserved
![]()
HOME | About Us | Contact Us | Privacy
New! Comments
Have a question or comment about what you just read? Leave me a comment in the box below.